A content collaboration workflows diagram is a visual map that makes it easy to understand, follow, and improve your team’s content processes. If you’ve ever felt lost or confused about “who does what” or “when is this step finished?” in your content creation projects, you are not alone. This guide will show you exactly what a content collaboration workflows diagram is, its most important components, and how it helps teams communicate and work together better. We’ll answer the core questions you have, walk through best practices, and provide practical examples so you can build clear diagrams yourself—without jargon or headaches!
What is a Content Collaboration Workflows Diagram?
A content collaboration workflows diagram is a simple visual representation of the steps, roles, and decisions involved in creating, revising, approving, and publishing content. It maps out the journey of content from start to finish, showing who is responsible at each stage and how information flows between people or teams. The goal is clarity: everyone should know their tasks, deadlines, and dependencies at a glance.
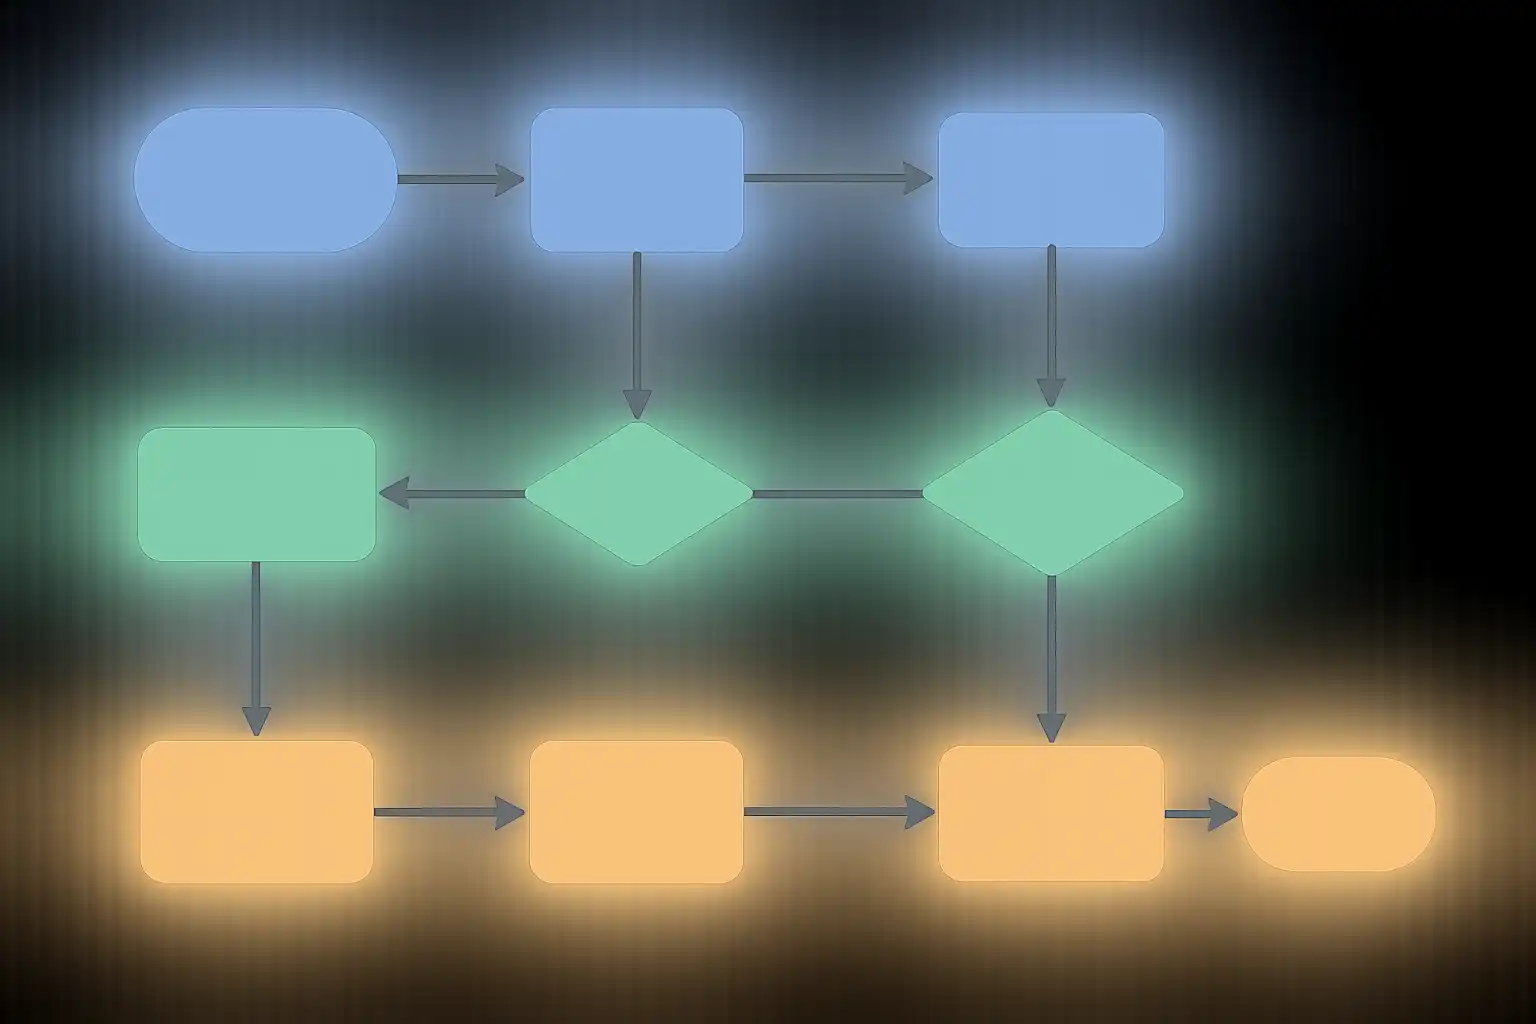
Unlike long textual documents or endless meetings, a workflow diagram gives you and your team a clear “big-picture” view. Diagrams use basic shapes—rectangles, diamonds, arrows, and ovals—to show tasks, decisions, and direction. For example, a rectangle usually means a process step (like “Draft Article”), a diamond represents a decision (“Is Review Approved?”), and an arrow points the way forward.

Why Use Workflow Diagrams for Content Collaboration?
Clear workflow diagrams solve many everyday problems in content teams. Have you ever run into these?
- Missed deadlines because team members didn’t know when their part started
- Confused handoffs where multiple people thought someone else “owned” the next step
- Long email threads or chats where small changes got lost
- Difficulty tracking what’s in progress, what’s approved, and what’s still pending
By switching to a content collaboration workflows diagram, you replace confusion with transparency. Everyone sees their role and the overall process. This not only saves time and reduces stress, but also helps prevent errors or duplicated work. In many organizations, using workflow diagrams has led to faster turnaround times and improved content quality.
How Do You Build a Simple Content Collaboration Workflow Diagram?
To create a useful content collaboration workflows diagram, follow these steps:
- Define Scope and Objectives: Decide which content types or projects the diagram will cover (blog posts, social campaigns, product docs, etc.).
- List Steps: Break the process into clear, manageable tasks such as “Brainstorm,” “Write Draft,” “Peer Review,” “Edit,” “Design,” “Approve,” and “Publish.”
- Assign Roles: Note who is responsible for each step. This could be the author, editor, designer, manager, or even automated tools.
- Identify Decision Points: Mark any places where choices are made (e.g., “Is Content Approved?”). These points are shown as diamonds in your diagram.
- Connect the Steps: Use arrows to show how the process flows from start to finish. Include paths for “yes” or “no” decisions.
- Review and Clarify: Share the draft diagram with your team, get feedback, and revise for clarity.
Let’s walk through an example. Suppose your company is launching a new blog post. The workflow might look like:
- Content Brief Created → Writer Drafts Post → Editor Reviews → Manager Approves → Designer Adds Graphics → Post Scheduled
At each stage, the diagram shows “who does what” and where handoffs occur. If the manager does not approve the draft, the process loops back to the writer for revisions. This style of diagram—often called a “flowchart”—can be made with software (like Wrike, Lucidchart, or Miro) or by hand on paper.
What Are the Essential Components of a Good Content Collaboration Workflows Diagram?
Effective workflow diagrams have specific building blocks:
- Start and End Points: Marked by ovals, these show where the process begins and finishes.
- Process Steps: Shown as rectangles, these describe each main task (e.g., “Edit Content”).
- Decision Points: Diamonds indicate spots where choices are made (like approval or rejection).
- Arrows: Show the direction and flow from one step to the next.
- Inputs and Outputs: Identify what’s needed at each stage (an initial brief, a draft, feedback, etc.).
- Consistent Notation: Use standard symbols (shapes and arrows), ideally following ANSI or international standards so everyone understands.
- Clear Labeling: Every shape and arrow should be labeled clearly—no guessing what “this box” means!
- Whitespace and Layout: Diagrams should be easy to read, not crowded. Use spacing to separate steps logically.
For complex processes, consider using a “swimlane” diagram. Swimlanes divide the diagram into rows by team or role (such as Marketing, Editorial, Design), making it simple to see who owns each action and when responsibilities are handed off.
How Does a Content Collaboration Workflows Diagram Improve Team Communication and Efficiency?
By visualizing the workflow, teams gain a shared language and understanding. Let’s see how this plays out:
- Clear Roles: Everyone knows what’s expected of them—no more missed handoffs.
- Transparency: Team members see where their work fits into the bigger picture and when to act.
- Reduced Errors: Steps are less likely to be skipped or repeated, minimizing confusion.
- Fewer Meetings: When the process is clear on paper, less time is wasted explaining tasks.
- Bottleneck Identification: Teams can spot slow points in the process and address them quickly.
- Faster Turnaround: With defined steps and paths, projects move from start to finish more smoothly.
Some companies use workflow diagrams alongside automation tools like Wrike, allowing tasks, approvals, and reminders to trigger automatically as content progresses. This not only helps with tracking but also ensures that nothing is overlooked. Additionally, dashboards linked to workflow diagrams can visualize status at a glance—who’s working on what, where things are stuck, and upcoming deadlines. Teams that implement these practices often notice better alignment, fewer misunderstandings, and a big boost in productivity.

What Types of Diagrams Can Be Used for Content Collaboration Workflows?
While the classic flowchart is common, there are several diagram types to consider, each with unique strengths:
- Standard Flowcharts: Great for basic, linear processes. Each step and decision is mapped out in a sequence.
- Swimlane Diagrams: Organize actions by team, department, or role, making responsibilities and handoffs clear.
- Data Flow Diagrams: Focus on how information moves (best for systems or digital content).
- Kanban Boards: Use columns (e.g. “To Do,” “In Progress,” “Done”) to visualize status. Many tools, like Trello, use this approach.
- Gantt Charts: Show timelines but are less about process flow and more about schedules and dependencies.
Choose the style that best matches your team’s needs. For most content teams, flowcharts or swimlane diagrams strike the right balance between clarity and detail.
What Are Best Practices for Designing a Clear Content Collaboration Workflows Diagram?
To boost the clarity of your workflow diagram, follow these tips:
- Gather Stakeholder Input: Involve everyone who will use or benefit from the workflow. This ensures accuracy and buy-in.
- Keep It Simple: Show only necessary steps, roles, and decisions. Avoid overcomplicating with too much detail.
- Use Standard Symbols: Stick to familiar shapes and arrows so the diagram is quickly understood.
- Label Everything: Make sure each process, decision, and path is clearly named.
- Lay Out Logically: Flow should go left-to-right or top-to-bottom, as is easiest to scan.
- Allow for Exceptions: If there are alternate paths (like a rejected draft), show them with branching arrows.
- Test and Revise: Share the diagram, ask for feedback, and update as needed.
- Digital Tools Help: Tools like Wrike, Lucidchart, Miro, or Microsoft Visio make edits, sharing, and automation easier.
- Keep Versions Updated: Processes change over time, so update your diagram when workflows evolve.
Which Tools and Techniques Are Best for Creating Workflow Diagrams?
Making a workflow diagram can be as simple or advanced as you need. For small teams, even drawing on a whiteboard or paper can work. For professional results and sharing, digital tools are recommended.
- Wrike: Offers workflow management, automation (like notifications), and dashboard visualization, customizable for any process.
- Lucidchart: A user-friendly diagram tool with templates and collaboration features.
- Miro: Collaborative whiteboard best for brainstorming and mapping dynamic processes.
- Microsoft Visio: Advanced diagramming tool popular in larger organizations.
- Trello/Asana: Use Kanban-style boards to visualize workflow steps in real time.
Best practices for using these tools include defining the workflow’s scope first, picking the right diagram type, sticking to clear and consistent symbols, and engaging team members early for feedback. Many teams appreciate Wrike’s automation, which can move tasks or notify users automatically as work progresses. This reduces manual follow-ups and keeps everyone up to speed.
How Do You Keep Workflow Diagrams Clear and Actionable?
Even a good diagram can become confusing if it’s not maintained or is packed with too much information. Here’s how to keep yours clear:
- Limit Details: Only include essential steps, not every possible scenario. Detailed exceptions can be listed elsewhere if needed.
- Color-Code or Group: Use colors or swimlanes to organize by team, making the diagram easier to skim.
- Provide a Legend: If your diagram uses special symbols or colors, include a simple key.
- Update Regularly: Review workflow diagrams during team meetings or after major process changes.
- Encourage Feedback: Ask team members if the diagram makes sense or needs improvement—especially after launching a new process.
Sample Content Collaboration Workflow Diagram
Imagine a simplified flow for launching a company whitepaper:
| Step | Role | Output |
|---|---|---|
| Ideation | Content Strategist | Outline |
| Draft Writing | Writer | First Draft |
| Peer Review | Editor | Feedback |
| Design | Designer | Formatted Document |
| Final Approval | Manager | Ready for Publishing |
| Publish | Marketing | Live Content |
Each handoff is an arrow in your workflow diagram, making each phase and responsible party obvious. For a detailed real-world case, you can check this content collaboration workflow resource for inspiration.
What Are Common Challenges and How Can Workflow Diagrams Help?
Content teams often face these hurdles:
- Ambiguity about who does what
- Lost work due to unclear approval steps
- Delays because task dependencies aren’t obvious
- Difficulty onboarding new team members
A good content collaboration workflows diagram helps by mapping ownership, clarifying approval routes, and making dependencies visible. New team members can learn the process at a glance, reducing training time and errors. Additionally, when paired with templates—such as the Content Collaboration Workflows Template—you gain a repeatable, standardized framework for multiple projects.
How Do Workflow Diagrams Support Collaboration Workflow Automation?
Workflow diagrams are not just pictures—they become the “blueprint” for automation. Many modern tools let you turn a diagram into automated flows. For example, in Wrike, you can set up triggers so that when an editor approves a draft, the task automatically moves to the design stage, and the designer is notified. Status updates, reminders, and even publishing can be automated.
This not only saves time but also reduces manual errors. The result is less time spent chasing updates and more time creating quality content together. If you want to explore automation further, reviewing guides such as this on collaboration workflow can be quite helpful.
What Should You Avoid When Creating Workflow Diagrams?
To keep your diagrams clear, try to avoid these common pitfalls:
- Overcrowding: Too many steps in one diagram make it hard to read. Break large processes into smaller diagrams if needed.
- Ambiguous Labels: Use clear, action-oriented language for each step.
- Inconsistent Symbols: Stick to one set of shapes and styles throughout.
- No Feedback Loop: Processes change, so review and update your diagram regularly.
- Ignoring Input: Get feedback from team members who actually use the workflow.
FAQ
What are the essential components of a content collaboration workflows diagram for clarity?
A content collaboration workflows diagram for clarity must include several essential components to effectively visualize the process. These components are clearly defined start and end points (often represented by ovals), distinct process steps shown as rectangles, decision points illustrated by diamonds, and directional arrows indicating workflow progression. Additionally, inputs and outputs must be identified to understand data flow. Consistent usage of standard notations, such as ANSI symbols, ensures universal comprehension. The diagram should be designed with clarity in mind, utilizing whitespace for readability, clear labeling of each element, avoiding jargon, and maintaining consistent symbol styles and logical arrangement of elements.
How can a content collaboration workflows diagram improve team communication and efficiency?
A content collaboration workflows diagram improves team communication and efficiency by providing a transparent, visual representation of processes that all team members can understand and follow. It facilitates clarity around roles and responsibilities, particularly when using swimlane diagrams that organize tasks by teams or departments, making it easier to see handoffs and dependencies. By standardizing workflows and automating routine tasks through tools like Wrike—such as automatic status updates and notifications—teams reduce misunderstandings and delays. Visualization via dashboards helps identify bottlenecks and optimize processes, ultimately fostering collaboration across departments and boosting productivity by streamlining project and content workflows.
What tools and techniques are best for creating an effective content collaboration workflows diagram?
Effective content collaboration workflows diagrams can be created using structured processes and specialized tools like Wrike, which offers workflow management software tailored for customization, automation, and visualization. The best practices include: 1) Defining the diagram’s scope and involving relevant stakeholders to gather accurate information; 2) Selecting the correct diagram type based on purpose and complexity (e.g., swimlane diagrams for role clarity, data flow diagrams for system processes); 3) Employing standard symbols and notation (rectangles, diamonds, ovals, arrows) according to ANSI standards to ensure clarity; 4) Keeping the diagram simple and readable through whitespace, clear labeling, and logical arrangement; 5) Leveraging Wrike’s features such as dashboards for visualization, automation for workflow triggers and notifications, and dynamic request forms for standardizing information collection. These techniques combined ensure a clear, actionable, and collaborative workflow diagram.
Can workflow diagrams be reused or adapted for different content projects?
Yes, workflow diagrams are highly adaptable. By creating templates for common content processes, your team can quickly adjust steps, roles, or approval points for new projects. Starting from a base template saves time and helps maintain consistency across campaigns or departments. As your team grows or your processes evolve, update the diagrams to reflect current best practices. Many teams keep a library of diagrams for various content types, streamlining launch cycles and onboarding for new staff.
Related Posts